How To Blog
How To Hold a Carbon Bike In a Bike Stand | Bike Hack
There are some horror stories out there of clamping bike frames in a bike stand only to crack or dent the tubing of the frame, effectively killing your bike. I have actually witnessed this happen to a customer’s bike when working in a well known bike shop (no it wasn’t me that did it!).
As bicycles, road bikes in particular, adopt carbon fibre frames and seat posts as standard, in addition to looking so aerodynamic that they look more like spaceships… Clamping the bike via the seat post in a conventional bike stand can prove quite tricky.
Of course a traditional post can be clamped safely in a bike stand, carbon or not, providing care is taken to ensure that there is not too much force applied. But what happens when you want to hold your super aero or carbon fibre frame safely to carry our maintenance without the risk or any damage occurring? We have a very cheap and easy trick to solve this problem and it is as simple a an old set of road bike handle bars with some bar tape applied. You simply clamp the old handle bars in the bike stand positioned so that they form 2 hooks for the bike. The bar tape will protect from any scratches and ensure that you do not risk damaging your bike with the stand.
How To Bleed a Shimano Hydraulic Disc Brake
Shimano have made it fairly straight forward and simple when it comes to maintenance and bleeding of their disc brakes. Detailed here are the steps required to fully bleed a Shimano brake, which will be required after a hose replacement for example which we have also previously covered in this blog.
Shimano have made it fairly straight forward and simple when it comes to maintenance and bleeding of their disc brakes. Detailed here are the steps required to fully bleed a Shimano brake, which will be required after a hose replacement for example which we have also previously covered in this blog.
You will need for a Shimano brake bleed:
Shimano Bleed Kit (supplied with syringe and reservoir pot)
7mm Spanner
Allen Keys
Brake Cleaner
Bleed blocks (or something similar to keep the pistons back)
Tissue
Bleeding Your Brake:
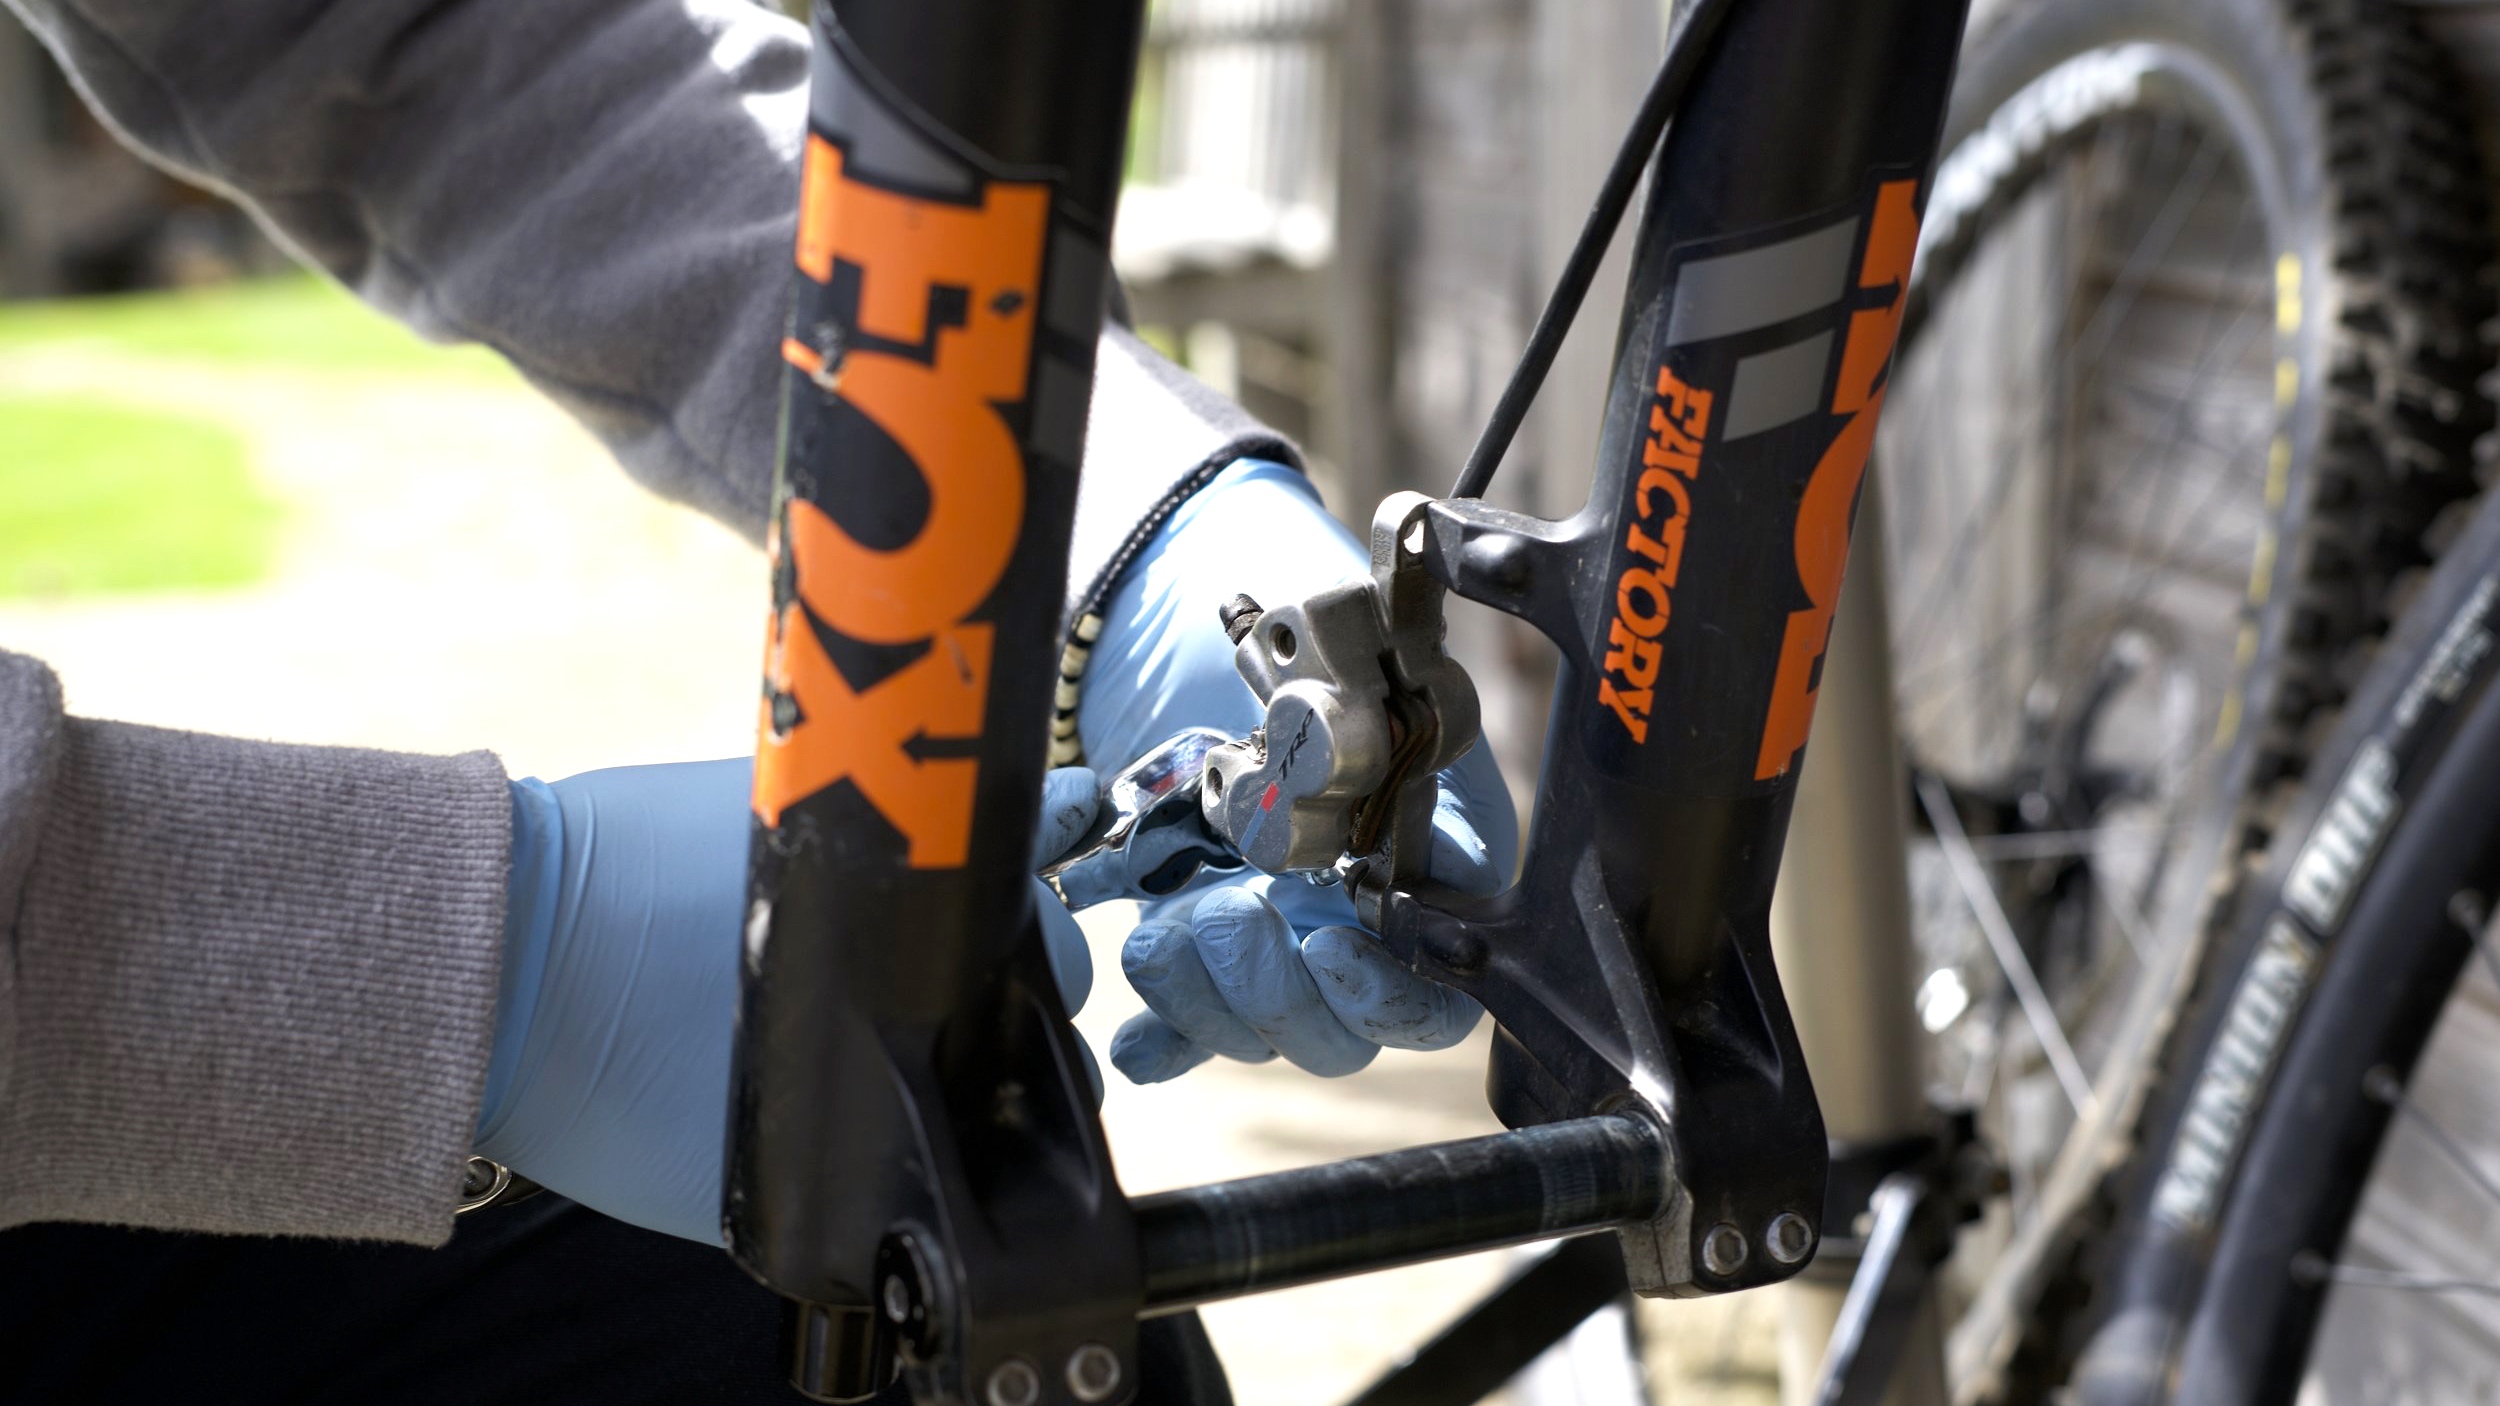
Firstly adjust your brake lever to so that it is horizontal and the bleed port bolt is upright. Also remove the pads incase of any spillage and replace with bleed blocks.
Remove the bleed port bolt on the lever with an allen key, be careful not to loose the rubber o ring off it. Then carefully thread in the Shimano Bleed Reservoir, the threads are plastic so can be easily damaged just be patient and tighten until it bites. Then fill the pot with a small amount of Shimano mineral oil and remove the bung (long stalk in the center). Now fill your syringe with mineral oil and push on your syringe hose to the bleed nipple of the calliper. It’s a good idea to stuff some tissue in around the bleed ports to catch any excess oil.
Once you are happy everything is set up, loosen the bleed nipple of the calliper with your spanner by a few turns. Carefully apply pressure to the syringe and observe oil filling the Shimano pot on the lever. The oil will bubble and may be discoloured, if this is the case keep repeating the process until the oil runs clear into the pot. If you need to refill the syringe, make sure you nip up the bleed nipple before removing.
Once your oil is running clear into the pot, tighten the bleed nipple, remove the syringe and clean up any excess oil at the calliper with brake cleaner and a rag. With the calliper end all secured, cycle the brake lever several times until there are no more air bubbles being produced in the pot. Once you are happy replace the bung and remove the pot again making sure you retain the o ring on the thread. Be fairly swift in replacing the lever bleed port bolt to ensure you don’t leak any oil.
Finally before you put any tools away, its a good idea to replace your pads and rear wheel and cycle the lever are few more times and check the brake is biting where you want it too and that its not spongey. If so then there is still air in the system.
If this is the case fit the pot onto the lever with some oil and again cycle the brake until more air bubbles come out. This should then solve it.
How To Wire In a Front Bottle Dynamo Light
We’ve had a recent refurbishment project of an old Pashley bike that had been left in the rain and the dynamo light, a real classic, was totally perished and corroded. So here’s a very simple guide as to how to fit and wire a new bottle dynamo front road bike light.
I’ll start by saying I am no electrician! To be honest I often find the whole electronics thing a little bit daunting. But as a bike mechanic it is something Ive had to embrace over the years, what with the progression of electronic shifting etc.
We’ve had a recent refurbishment project of an old Pashley bike that had been left in the rain and the dynamo light, a real classic, was totally perished and corroded. So here’s a very simple guide as to how to fit and wire a new bottle dynamo front road bike light.
You Need For Your Dynamo Fitting:
Bottle dynamo and compatible light (I bought it as a kit here’s what was included pictured above)
Wire cutters
Stanley Knife
Allen keys or spanners for attachment
Installing your bottle dynamo and light
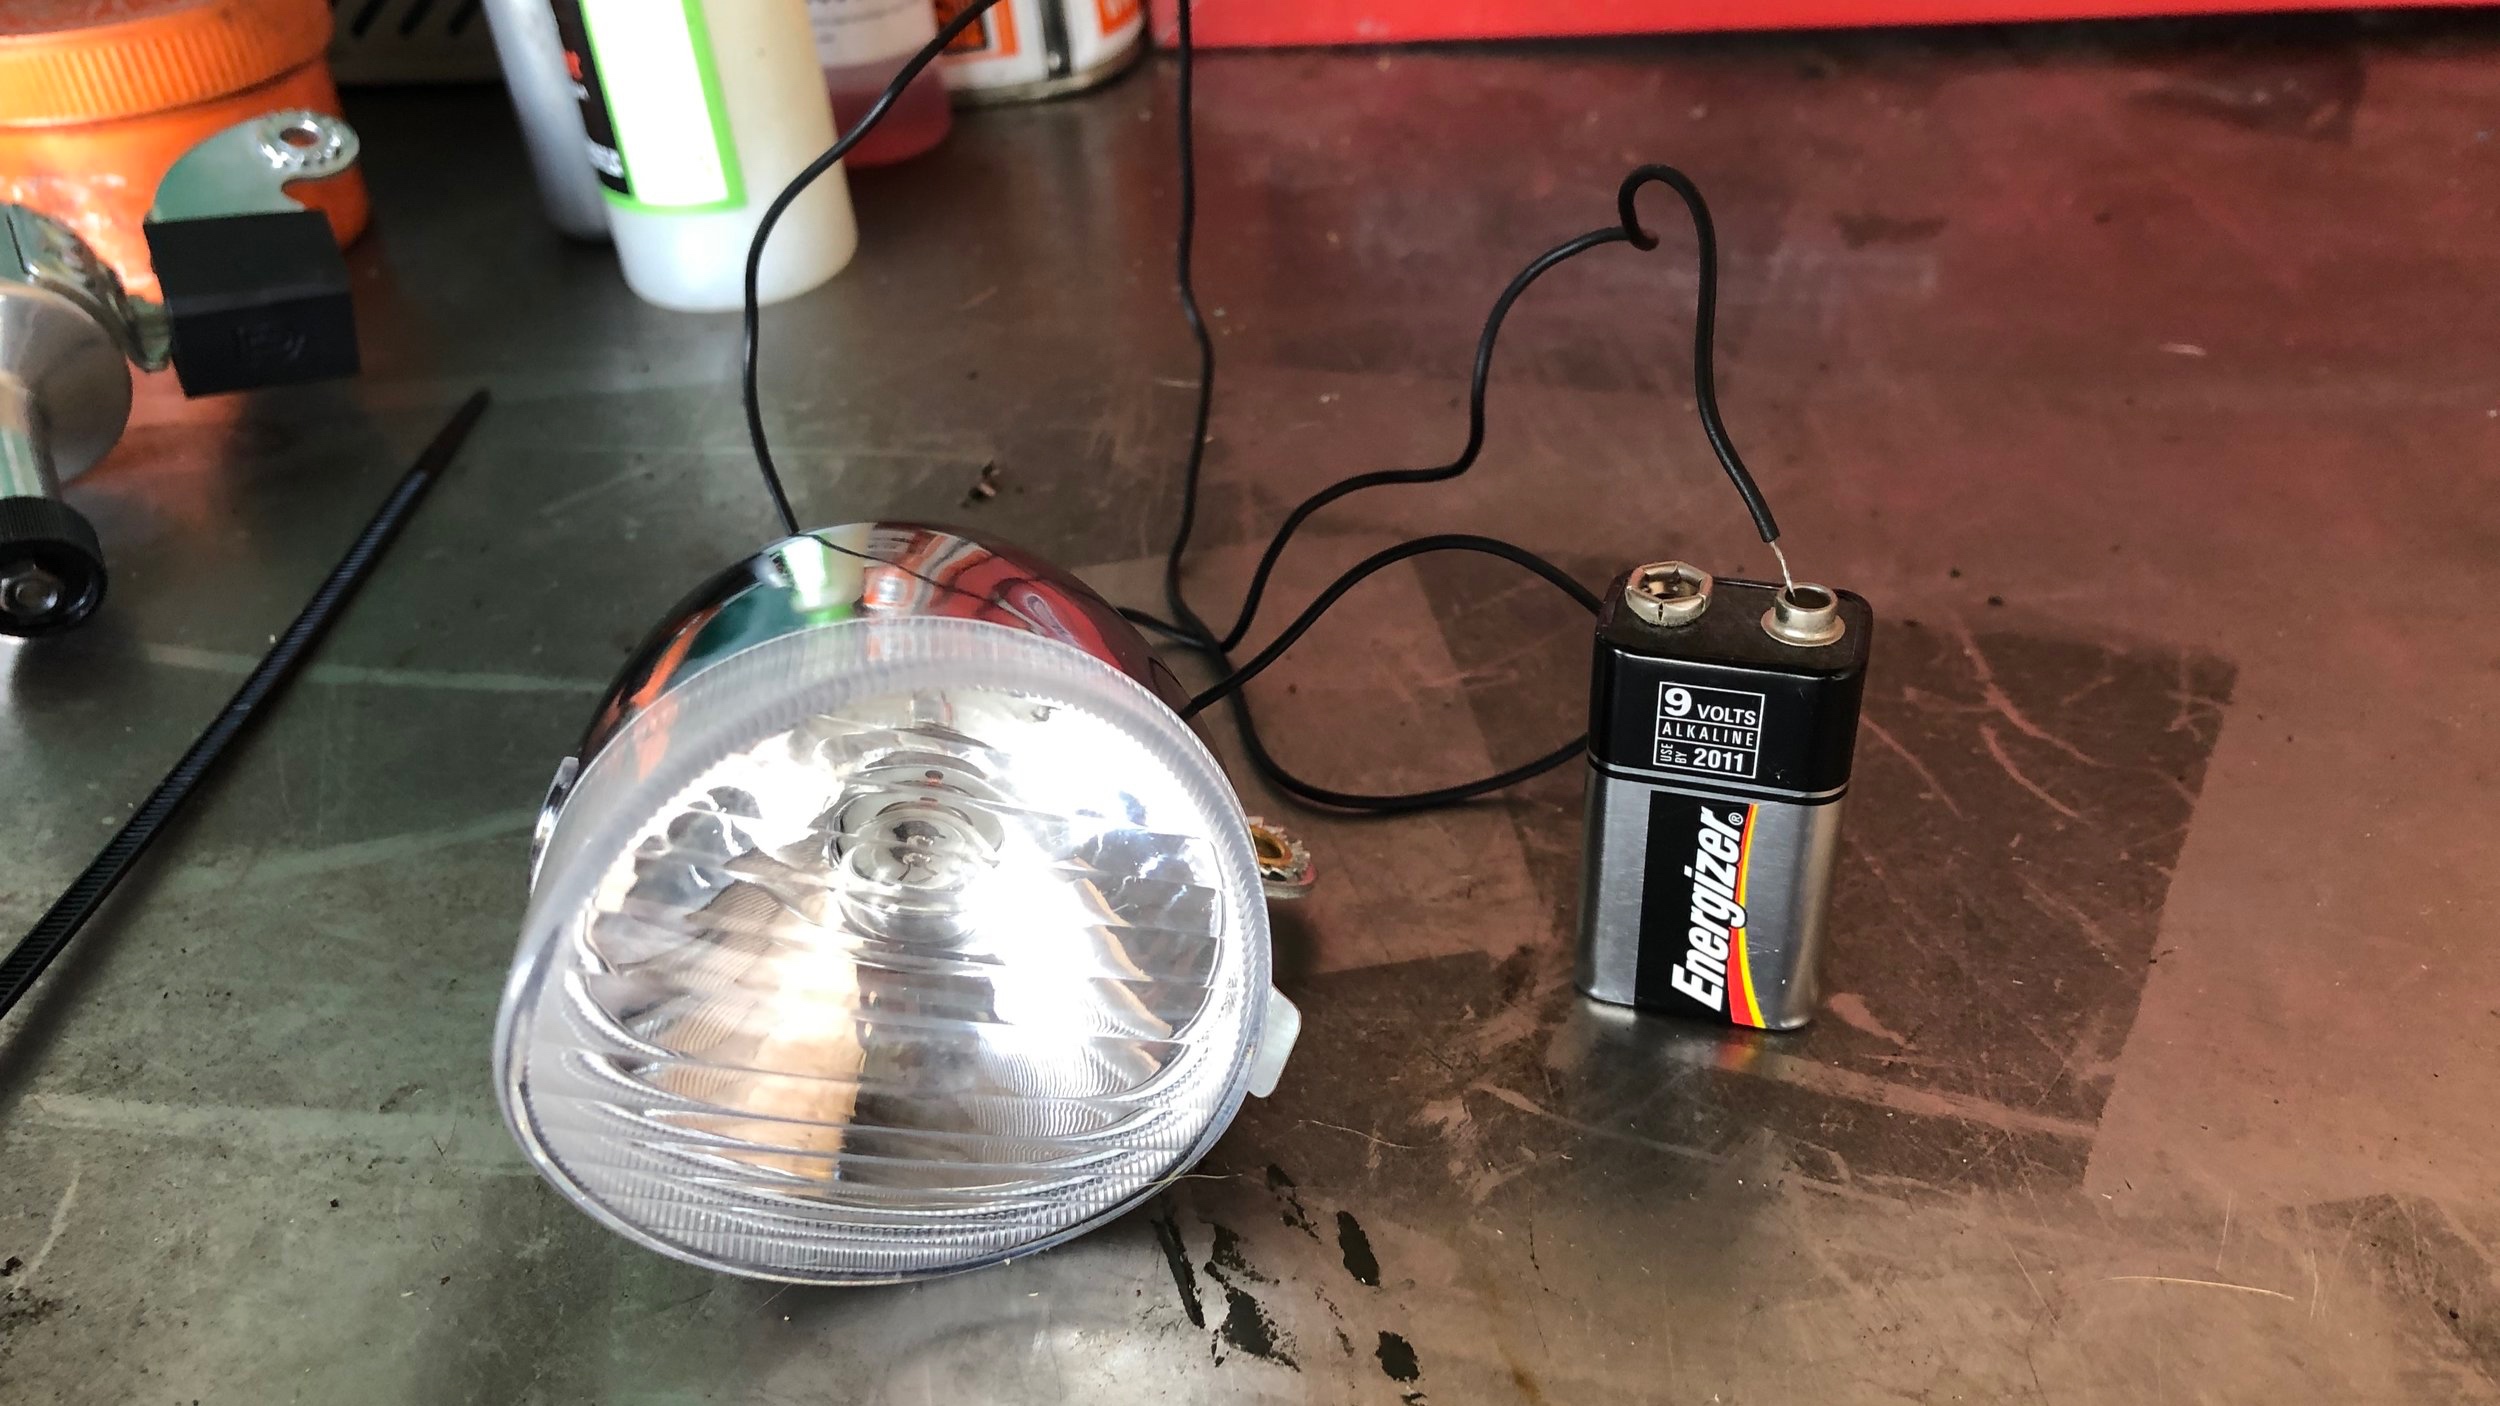
Firstly its a good idea to test the light works, in this case I bought it new so assumed it would but there’s no harm in testing!
Attach the positive wire from the light to the positive of the battery, in my case there is only one wire already wired to the lamp this is the positive.
Then touch the lamp to the negative terminal of the battery to complete the circuit and hope the bulb lights up! If there is a negative terminal or wire on the light, it’s the same process just using the wire.
Next it is time to fit the light, there is usually some sort of adaptor included with the light that you can get to fit with a few spacers and bolts. Bottle dynamos are designed to run on the tire or rim so will mount to the fork leg, The bike here has mounts dedicated to the dynamo however you can buy mounts that clamp to the fork, It is worth checking your bike before ordering the kit so you know what you’ll need.
Also note the bottle dynamo should be mounted as ‘straight’ as possible to the centre of the hub, this ensures the dynamo is working as efficiently as possible with minimal drag.
Now we have to attach wires! Heres a picture of the dynamo as you can see there is a clear positive terminal, this needs to attach to the positive from the light or the wire already wired into the lamp in my case.
Carefully route the cable down to the dynamo ensuring it is out of harms way and not obstructing any other components.
Now moment of truth… Provided you haven’t used any rubber spacers in the installation process, the circuit will be complete via the metal frame of the bike. Note the additional terminal on my dynamo is for a rear light.
If you have a negative terminal on your front light and dynamo then you will have to connect these up in a similar fashion as the positives in order to get a complete circuit.
While this is a very basic example we hope it inspires and at least gives you the confidence to give the dynamo light a go, it’s a great addition to any bike especially suiting vintage steel frames.


