How To Blog
How To VW Caddy Van Rear Wiper Delete | Using Old Bike Parts
So having searched for hours trying to find the best Caddy rear wiper blank after deciding to remove mine, I only seemed to find random ebay results for wiper deletes for Japanese cars. I decided to consult the tool box one last time before spending pointless money in the DIY shop incase I had something that would do the job. Luckily I did and I think most fairly keen cyclists would probably have, if not could easily acquire all the parts to make a similar invention on their car or van.
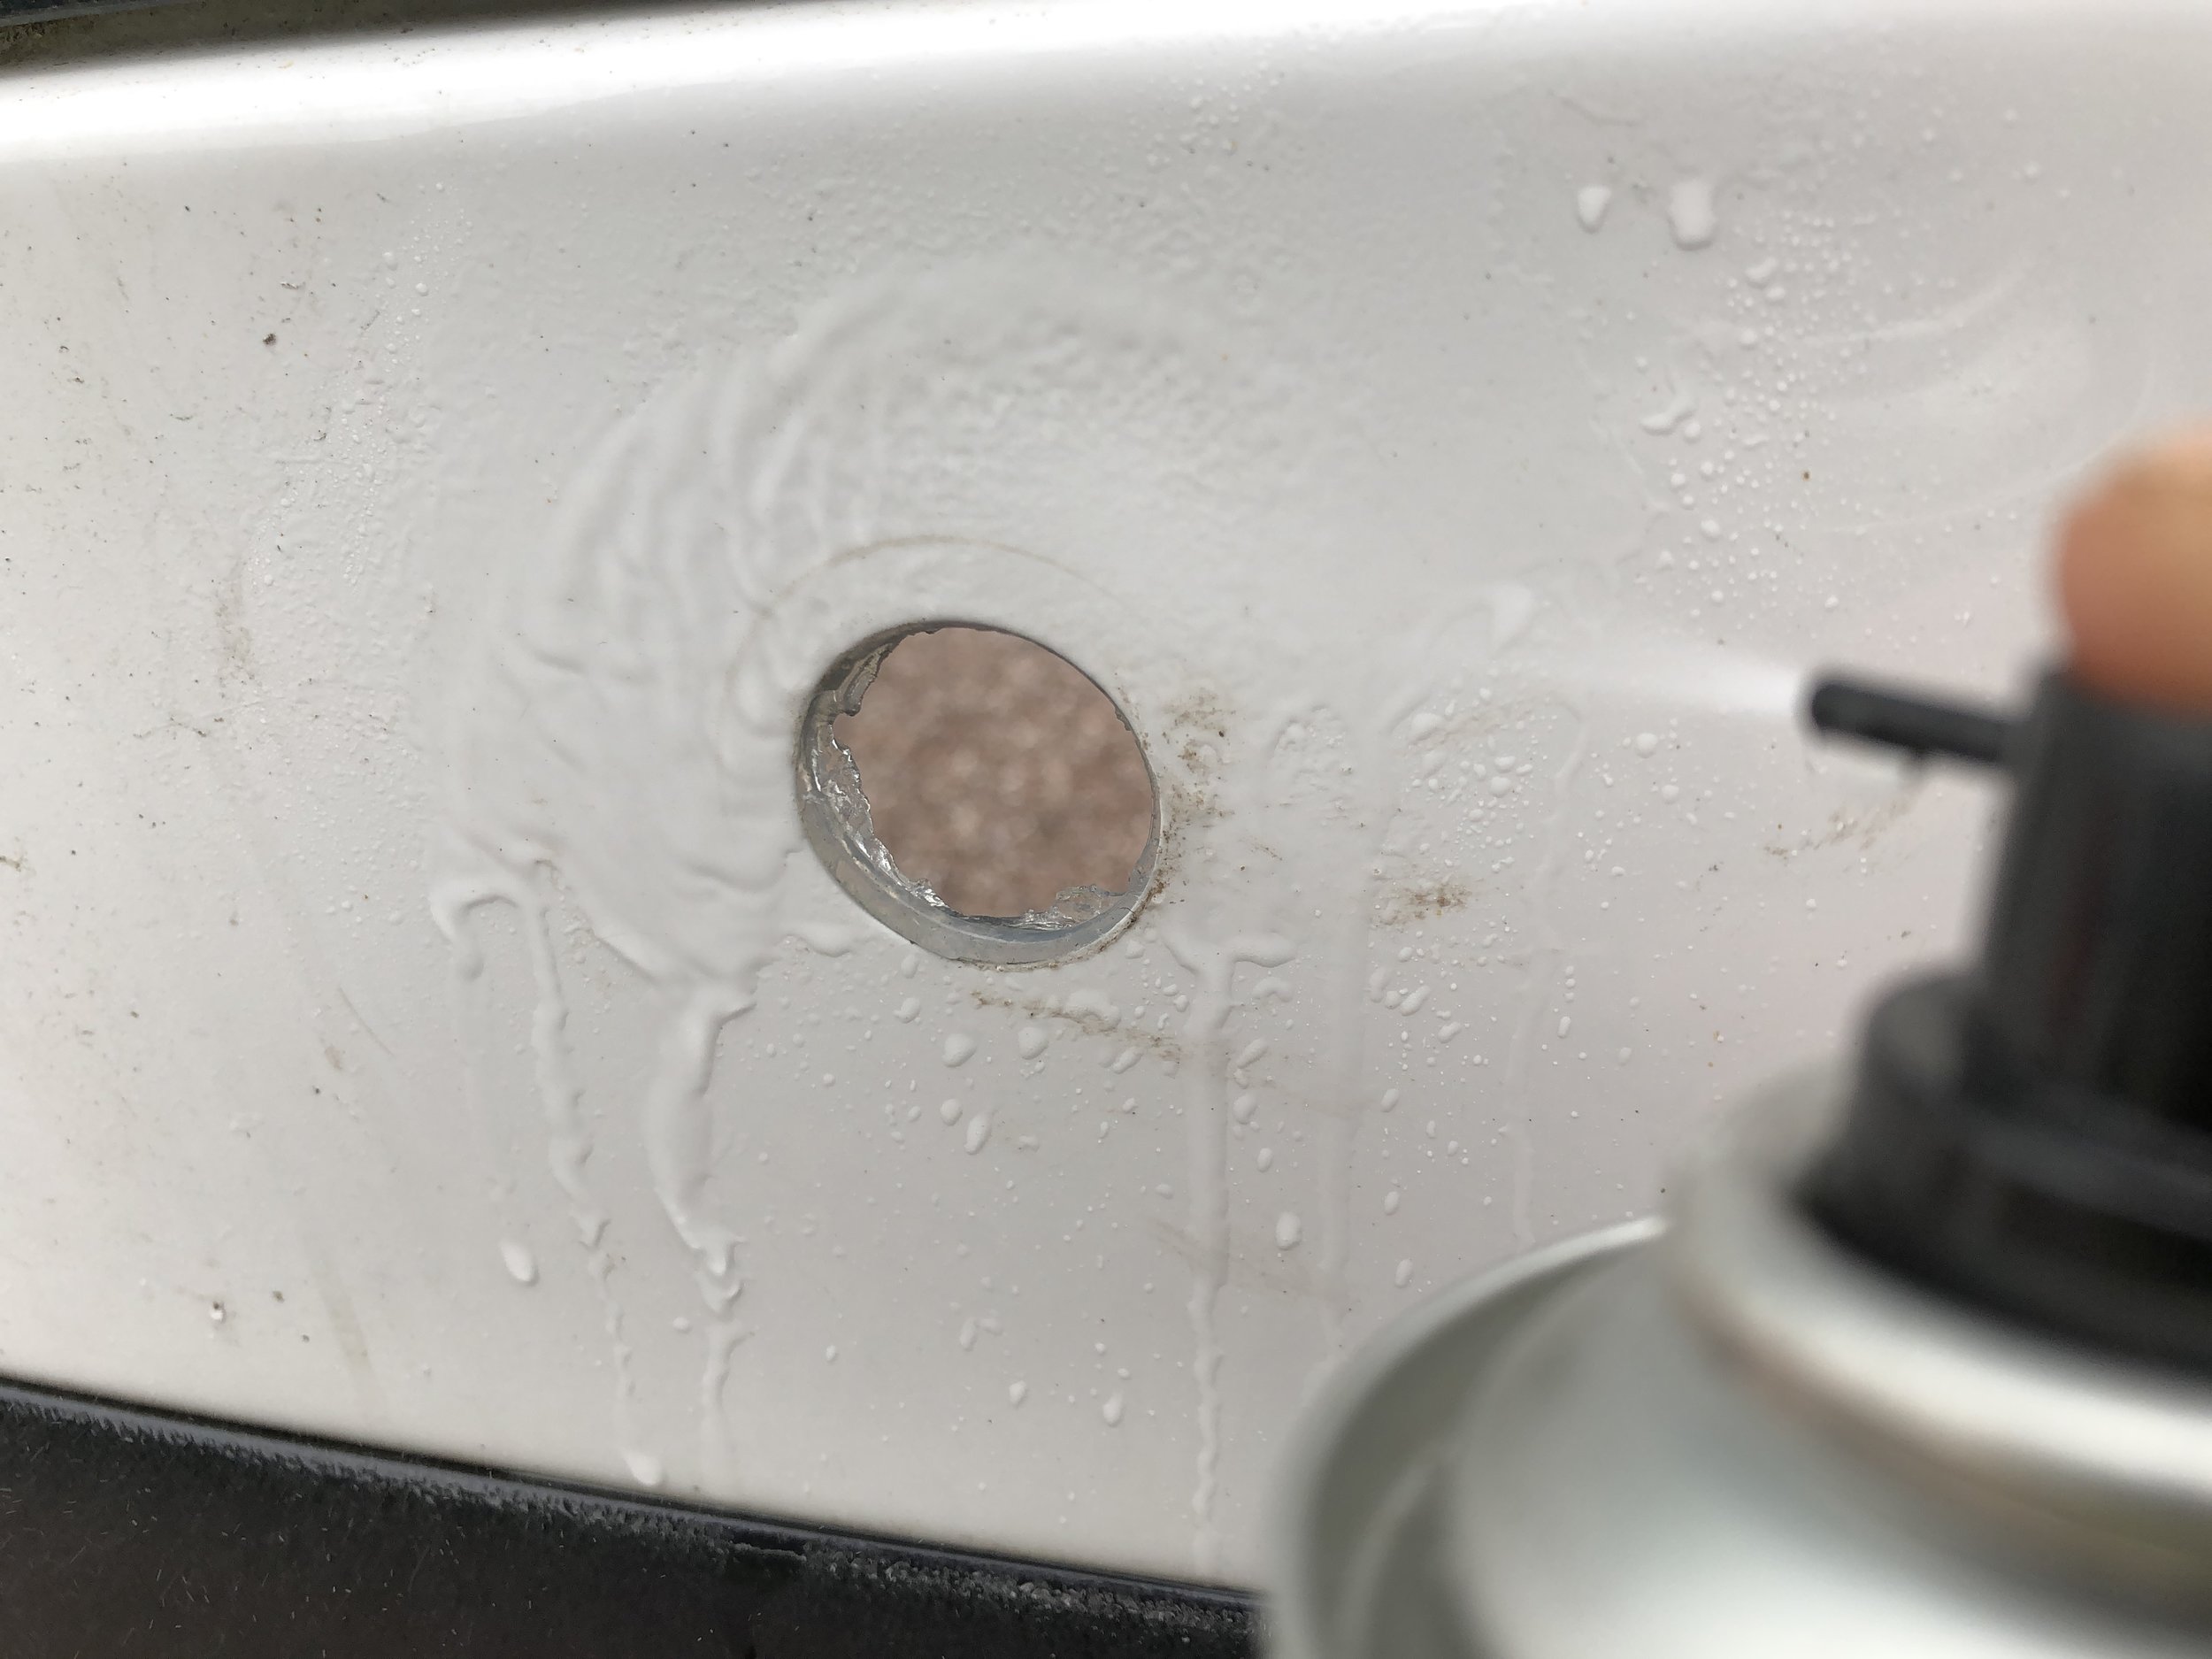
So having searched for hours trying to find the best Caddy rear wiper blank after deciding to remove mine, I only seemed to find random ebay results for wiper deletes for Japanese cars. While there were some nice looking threaded rear window deletes that claimed to seal 24mm holes… The hole in the door after removing the rear window wiper on a VW Caddy is 27mm! I decided to consult the tool box one last time before spending pointless money in the DIY shop incase I had something that would do the job.
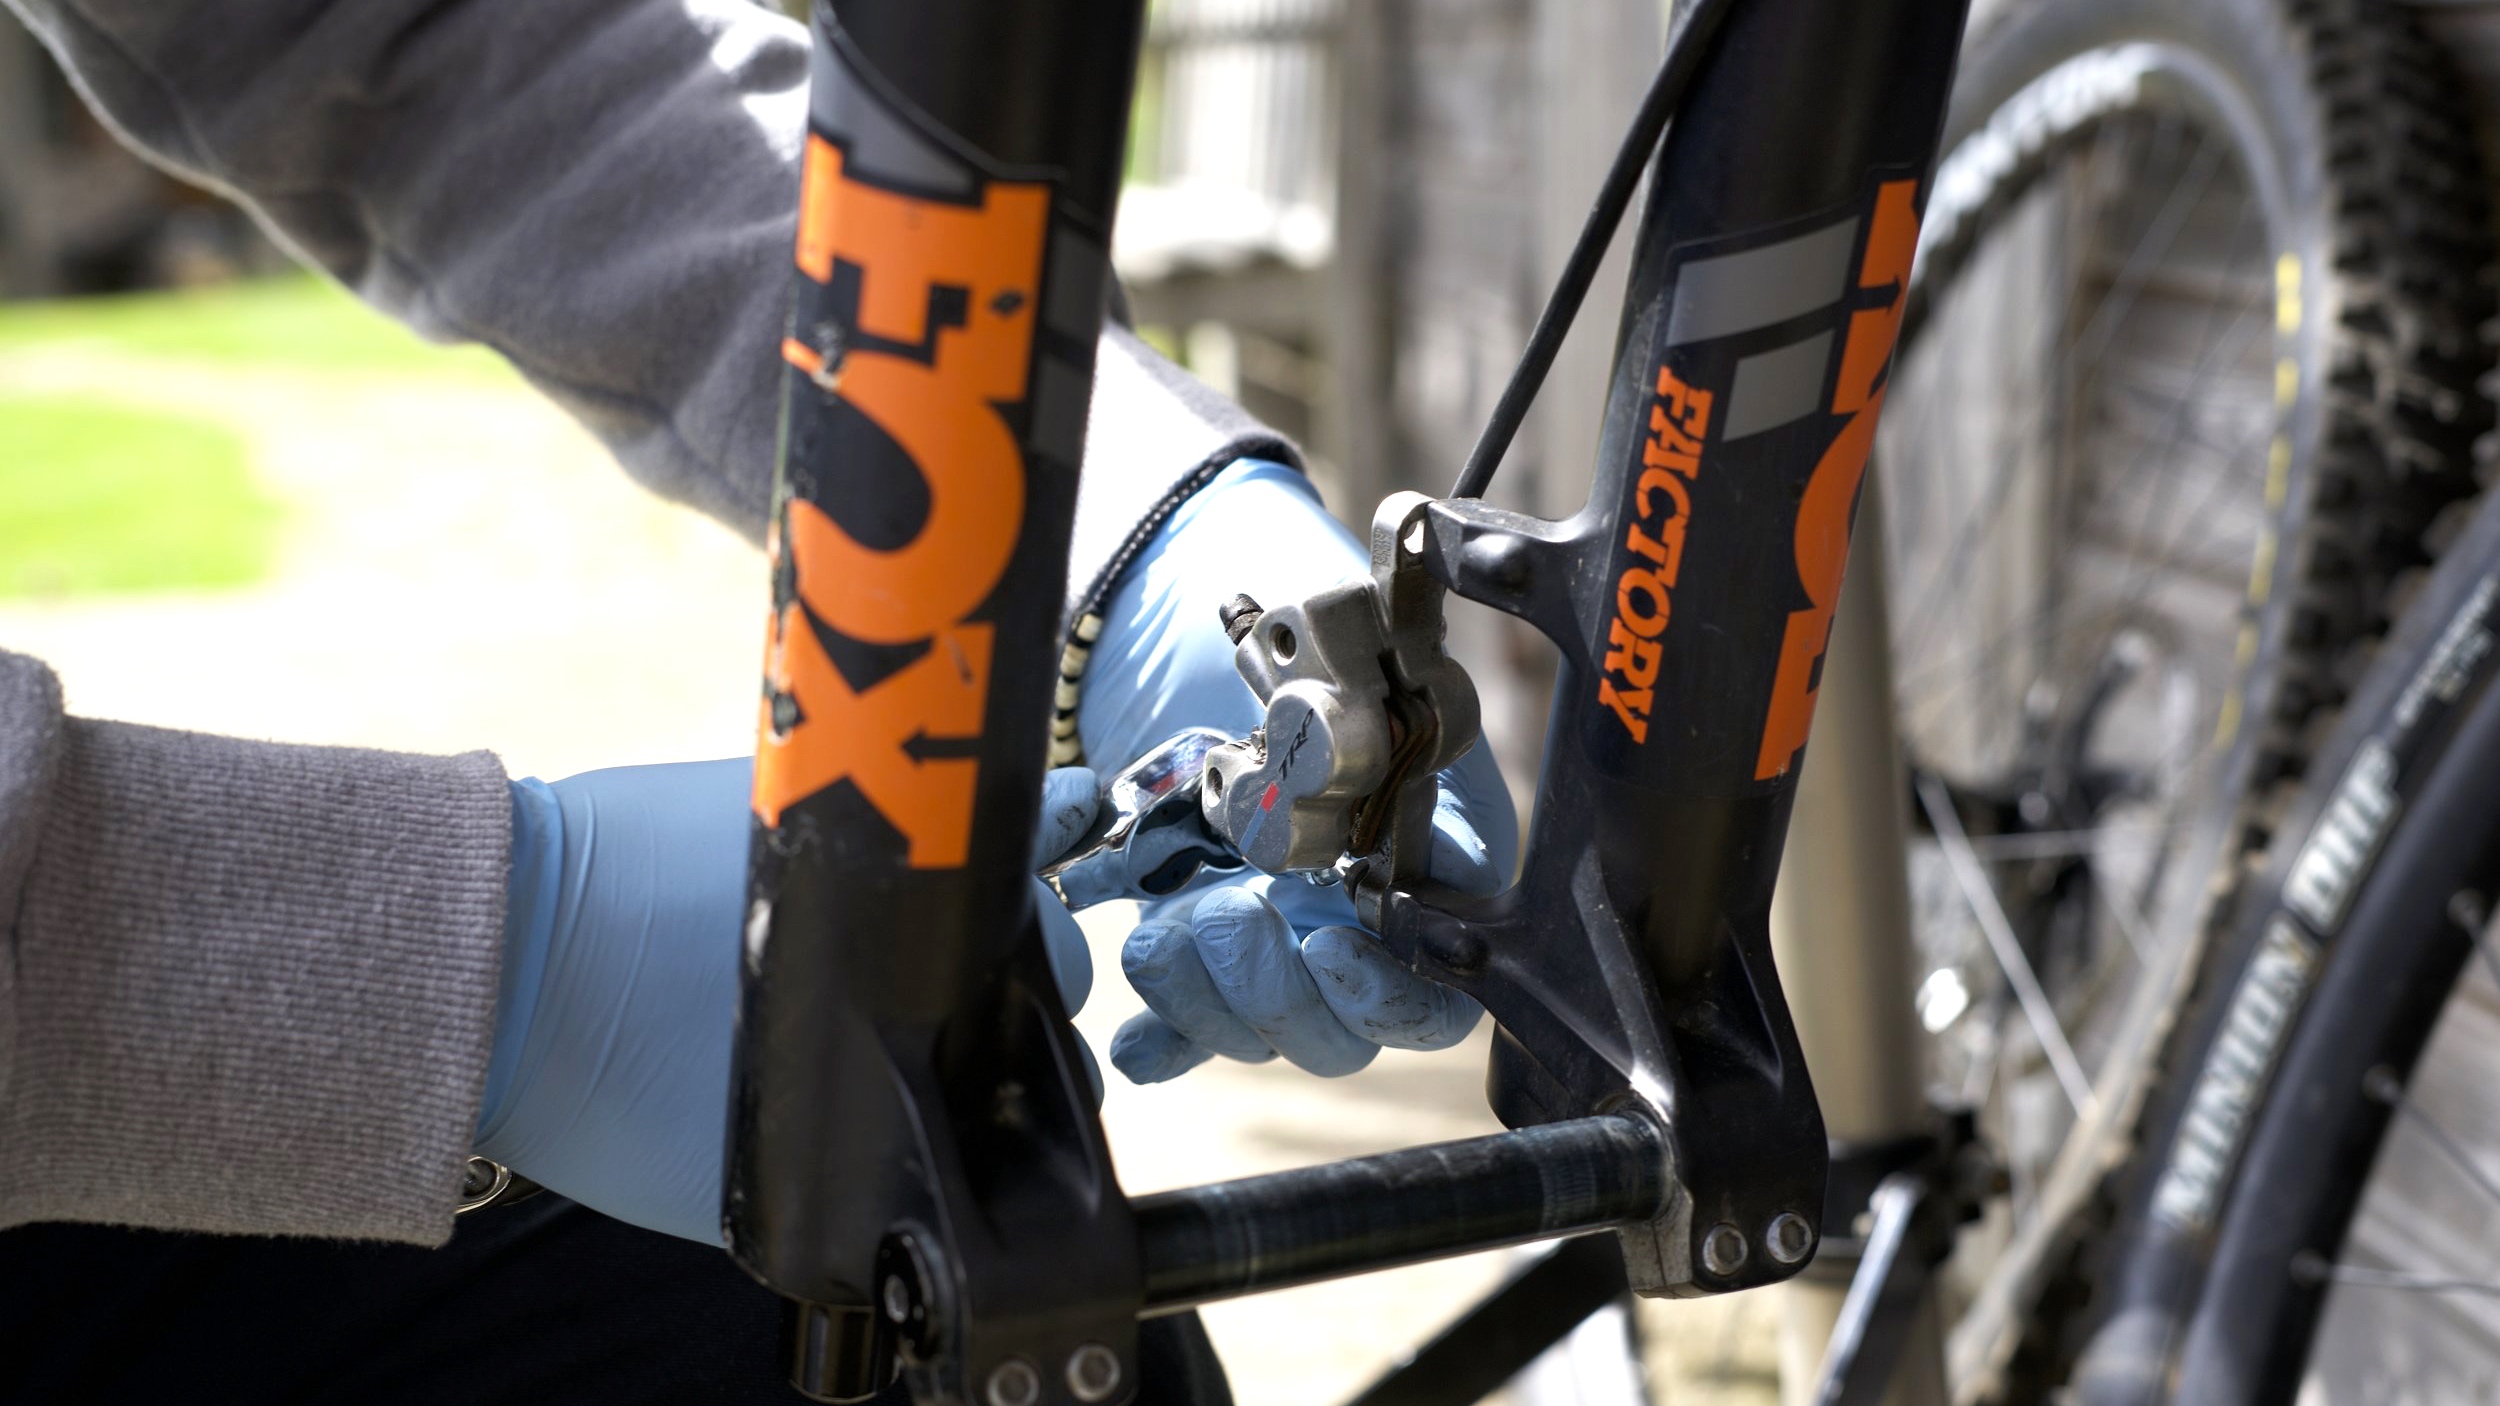
Luckily I did and I think most fairly keen cyclists would probably have, if not could easily acquire all the parts to make a similar invention on their car or van that not only looks smart, but also seals the old rear wiper hole a lot more securely than an over priced plastic wiper delete from ebay. We are basically plugging the hole in the van with the same tools used to hold a bike stem to the forks on most modern mountain bikes.
You Need For Your Rear Wiper Delete:
Bicycle head set top cap
Star nut (any nut will do just these are self gripping)
Headset Spacer
Assorted O ring seals
Long bolt
Random spacers would help
Sealant
Brake cleaner
Rag or towel
Gloves
Deleting Your Rear Wiper:
I started by adding a small o ring washer to the bolt to waterproof it. Next I cleaned up the hole in the Caddy left from removing the windscreen wiper with brake cleaner and a rag.
Having found that a bike top cap or headset top cap pretty much perfectly fits the hole in the door perfectly, I decided to colour code it to the van and use it for the exterior. There are some pretty cool colours of top cap available on the market though if you wanted something different
Then I put a bit of sealant around the inside of the Caddy door and around the top cap which will be used to cover the exterior of the van door.
Next I constructed the device around the door, as pictured, here is the order of components used on the interior of the van door; top cap and bolt on the exterior then; headset spacer, a second top cap (a large spacer will do the same) and a star nut on the inside.
As the top cap on the exterior of the van is tapered it protrudes through to the inside. A headset spacer fit perfectly up underneath the old wiper motor bracket and allows the bolt to be done up tightly to seal the door.
Finally I wiped off any excess sealant and tightened the bolt firmly to form a good seal around the van door. After 24hours I tested the device with a jet wash and the VW Caddy rear wiper delete is totally sealed!
Hopefully this guide helps and inspires with any of your own rear wiper blanks. Its a really quick task and in my opinion looks pretty good without the need to weld up the door or spend loads on a plastic bung that needs sealing anyway.
How To Build Your Own Bike to Van Axle Holder/Hitch | For Bolt Through Axle
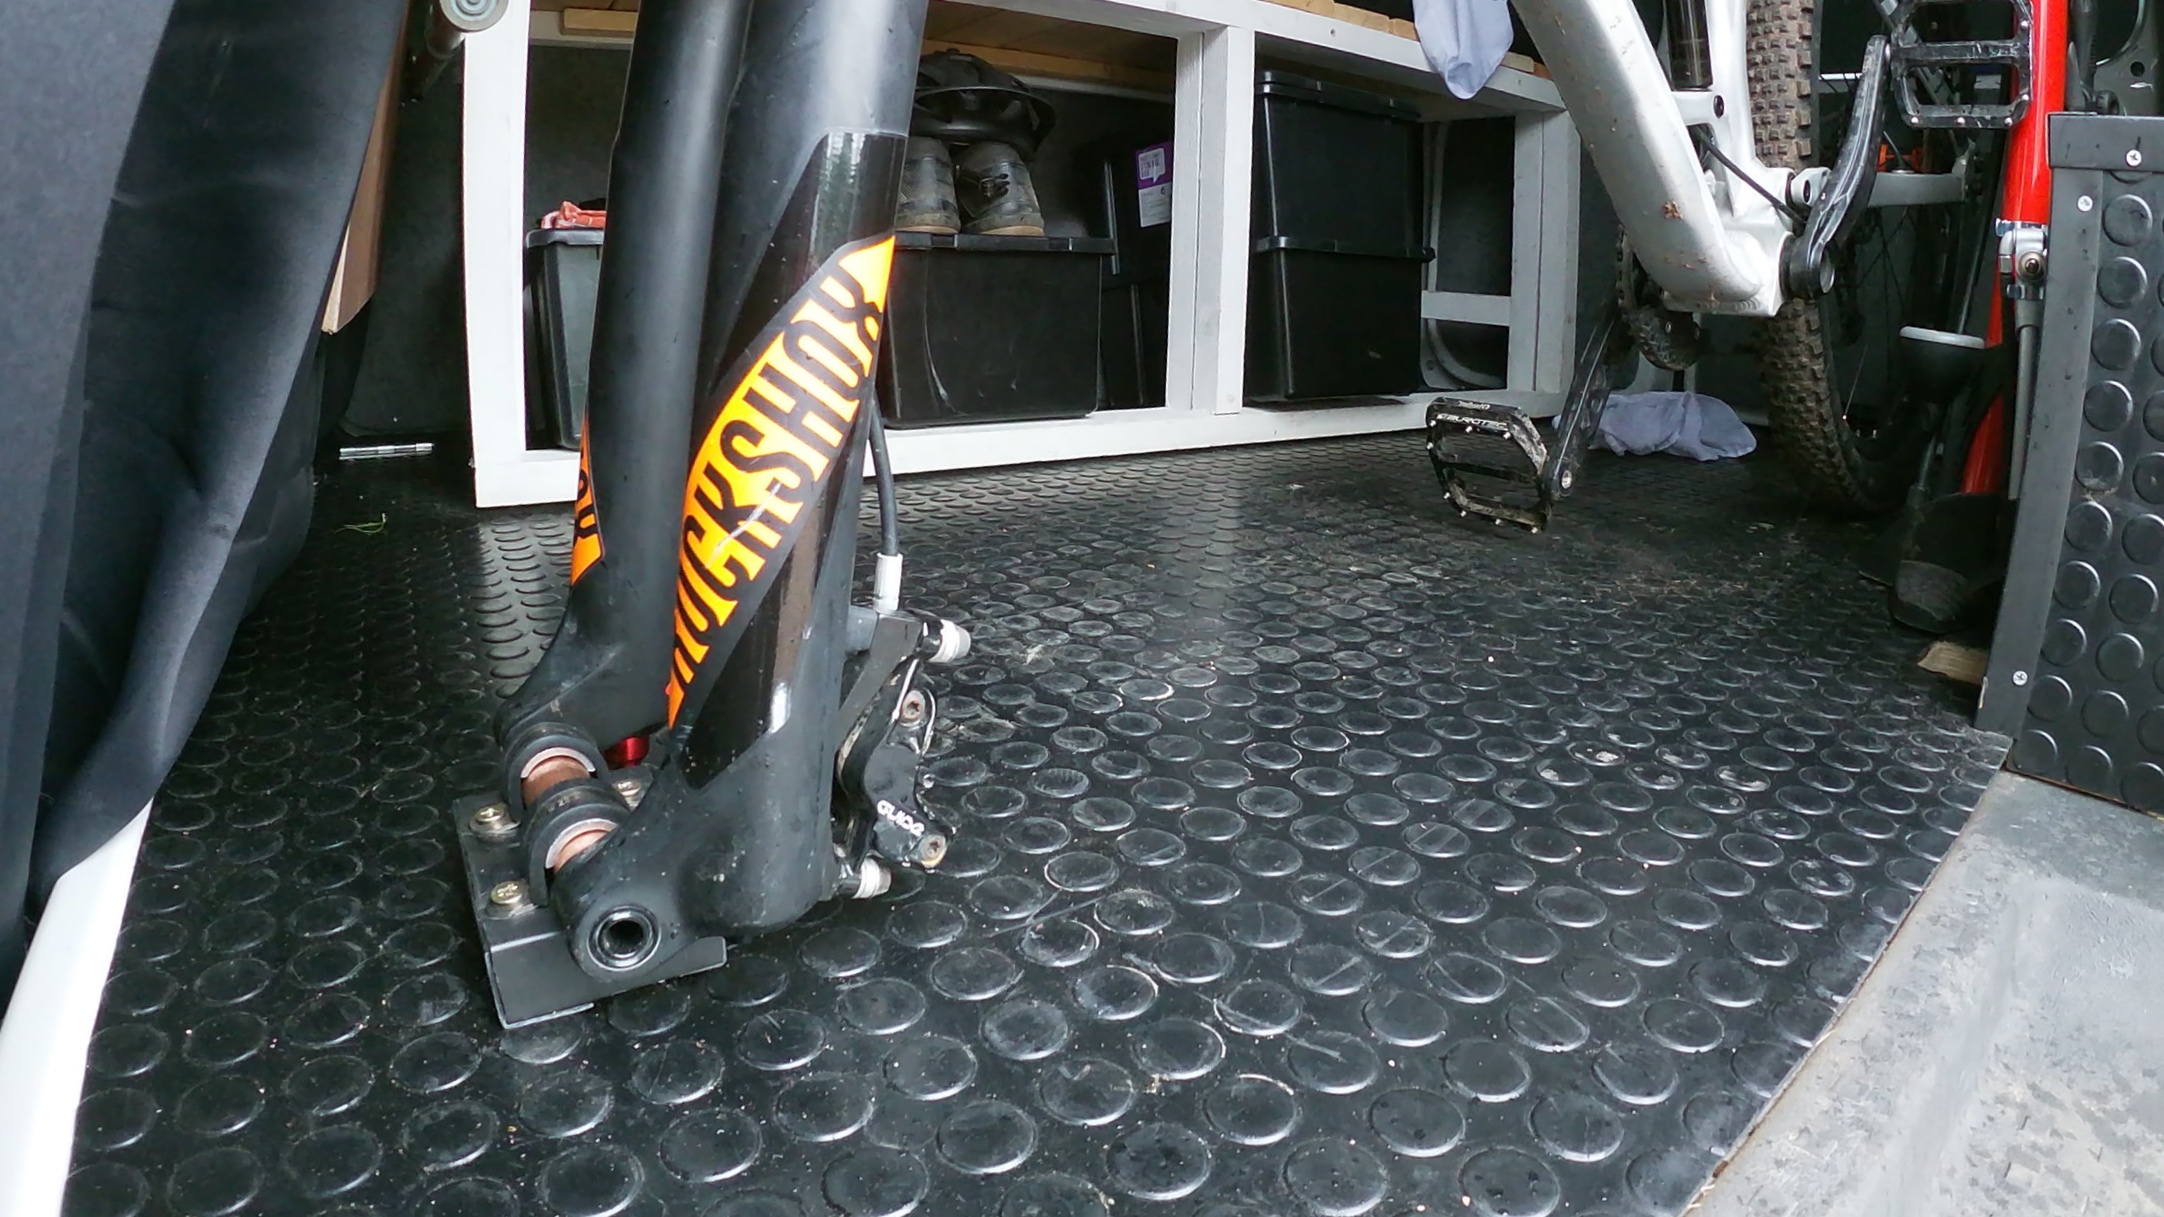
This bike to van axle stand is the perfect solution to holding your bike safely in transit.
If you are anything like me everything has to have a place, especially in the back of the van! I get so fed up when driving… You hit a corner and everything in the back of the van crashes together 🤬 This bike to van axle stand is the perfect solution to holding your bike safely in transit.
The axle stand or bike hitch is not a new invention, however I have found it really difficult to buy one at a sensible price that actually fits all of my various bikes, so have decided to make my own at a fraction of the cost. For those that are unfamiliar this stand basically replaces the front wheel of your bike and holds it in an upright position without the need for straps in the rear of your pick up, van or even shed.
You Need For Your Axle Stand
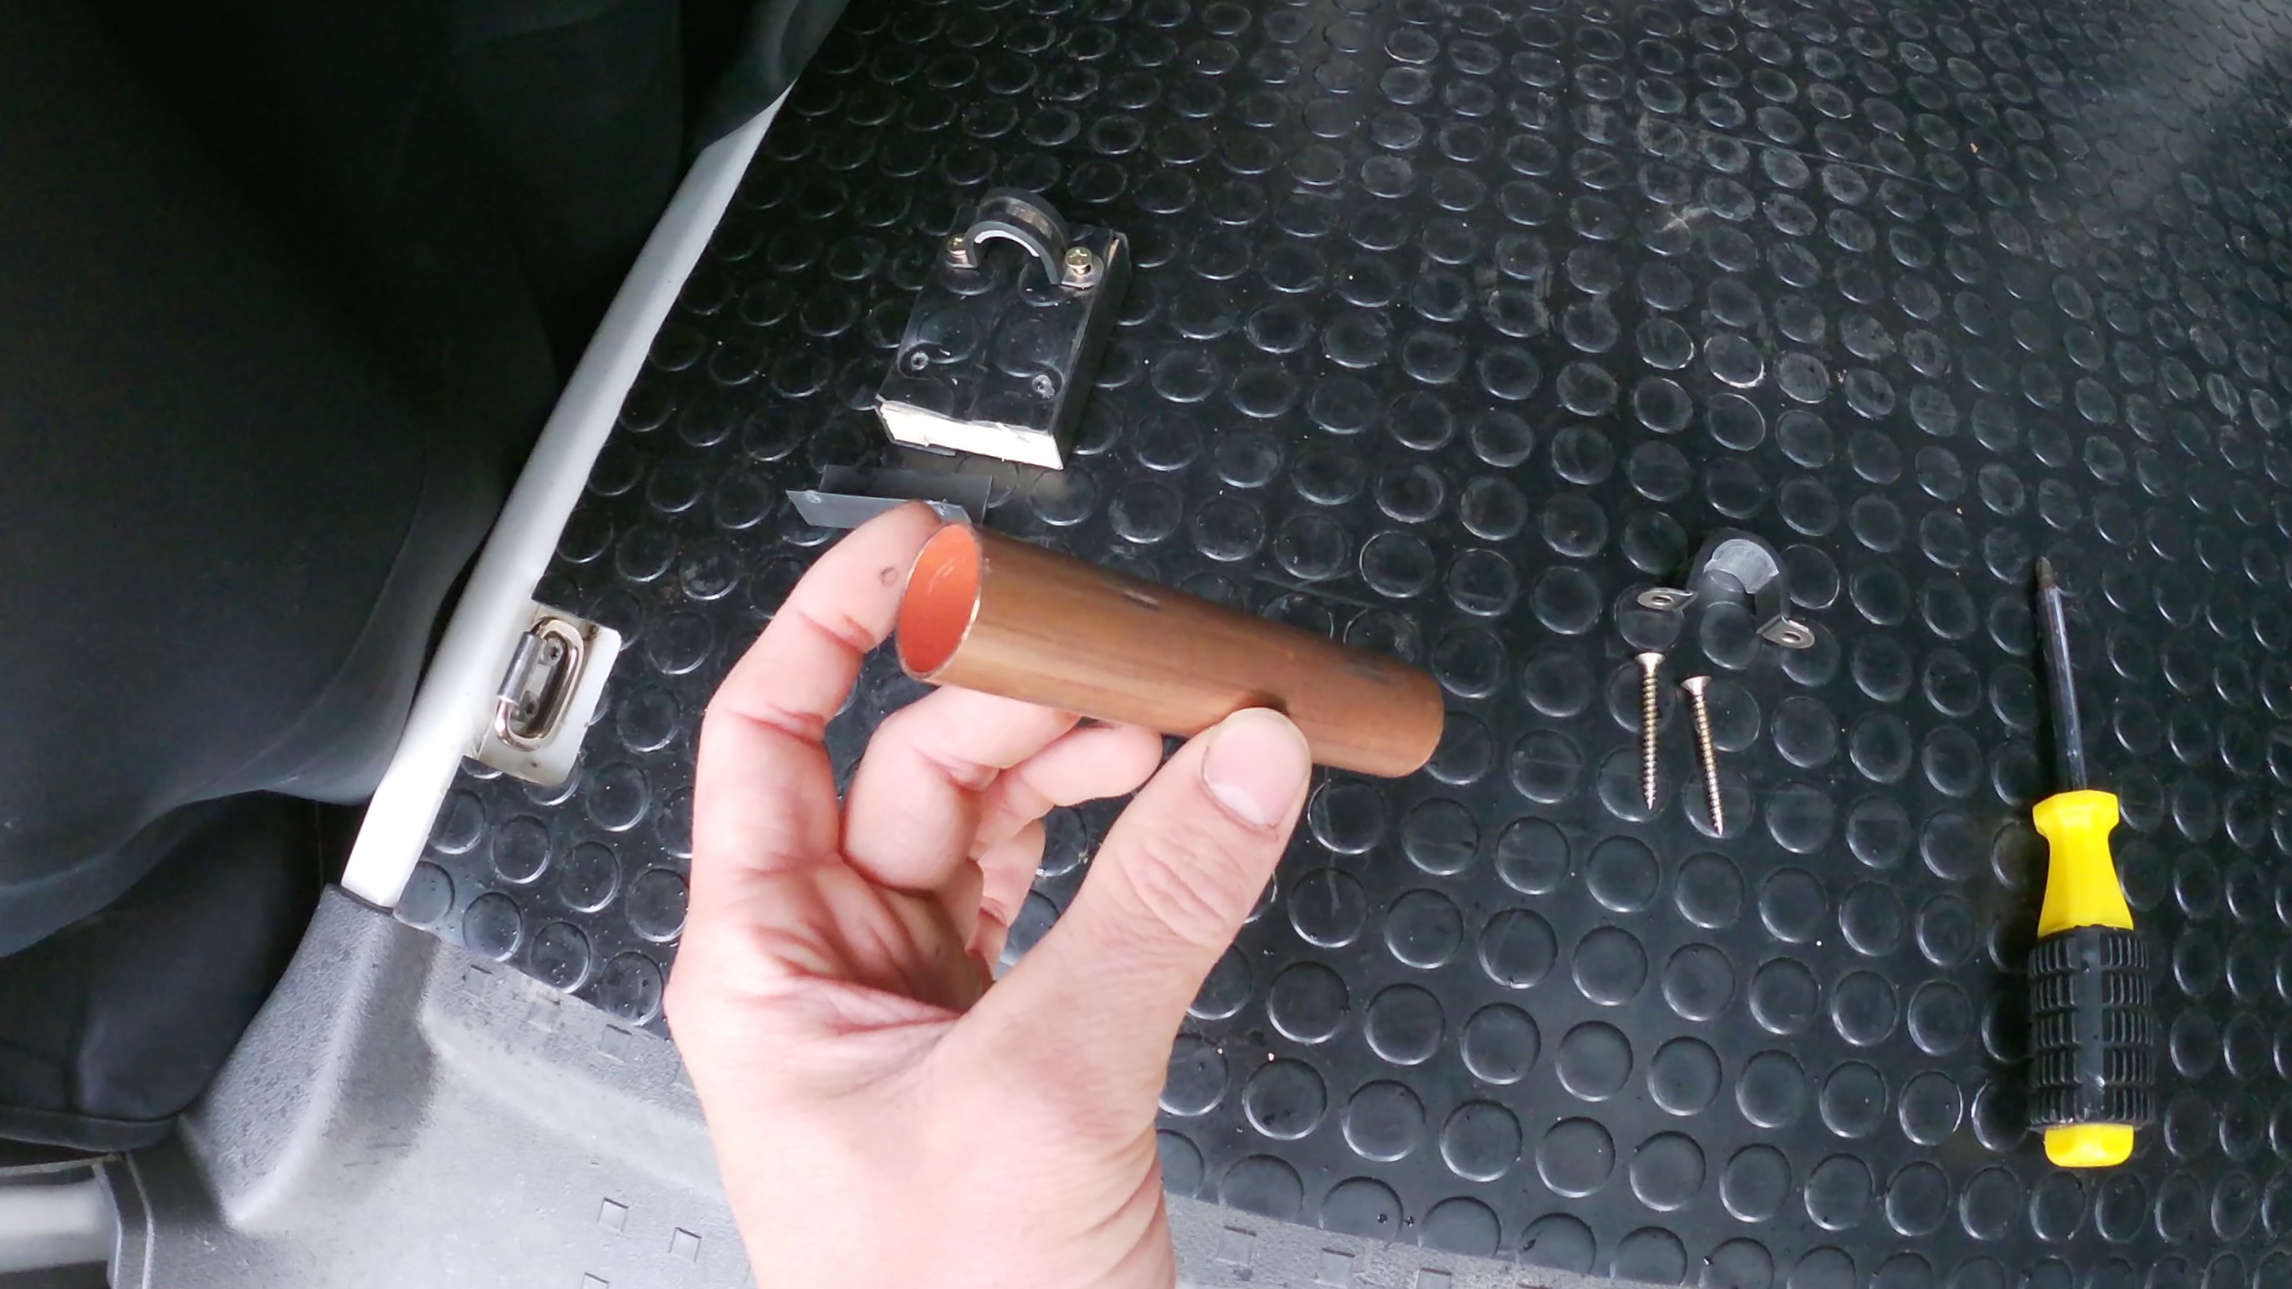
Metal Pipe of the correct diameter of your axle (I have used copper pipe)
Saddle Clamps x 2
Screws x 4
Screw Driver
Hack Saw or Pipe Cutter
Optional
Wood Block or Spacer
Additional Spacers
Smaller Diameter Pipe
Finishing Trim
Building Your Axle Stand:
Firstly cut down your pipe to match the width of your forks (front hub size). As I have various bikes with different size forks I have cut it down to the smallest width I have and will use spacers for the bigger bikes.
I have used a block of wood as a spacer to lift my axle stand off the floor to allow space for the damping controls on the underside of my suspension forks. This should be no wider than the pipe you have cut down.
I have also covered my wood in matching rubber and black plastic trim to be in keeping with my van interior
Finally decide exactly where you need the stand and screw down through the saddle clamps and wooden spacer into the van floor, ensuring the pipe is sitting in the right position… This can be fiddly!
Then you are ready to go! Using a small bungee i found was the best way to keep the spare front wheel in check.
Troubleshooting and Tips:
Double and triple check the positioning of the stand so that all doors can close etc with the bike in there!
If like me you have several bikes, getting them to all fit the stand can take some engineering… For example I have a 20mm axle DH bike and a 15mm Axle enduro bike. I found an aluminium factory from ebay. They offered several options for aluminium tube inner and exterior diameters. I managed to find an aluminium insert to my copper pipe that was a 15mm inner diameter but a 20mm outer diameter so I could just add this in when using a different bike.
Thanks for reading and happy axle standing! Feel free to get in touch via the contact page with any queries.


